
If you are tired of fighting your lawn, you are not alone.
Crabgrass. Weeds. Dry spots. Shady areas where nothing seems to grow. Lawns can take a lot of time and still look rough by mid summer.
That is why more people are turning to clover.
A clover lawn costs less, needs less work, and solves a lot of common lawn problems. Clover grows well in poor soil, shady areas, and dry conditions. It helps push out weeds, puts nitrogen back into the soil, and feeds bees and other pollinators.
And you do not need to mow it much, if at all.
Here is how to get started.

Step One: Choose Your Clover
Start by buying clover seed from a local garden center or lawn care store. About ten dollars worth of seed is usually enough for an average suburban yard.
Dutch white clover is the most common choice. It stays fairly short and produces small white flowers. Many people find that mowing causes the flowers to grow shorter instead of taller.
Red clover is another option, but it grows taller and may not be ideal for a lawn. Ask someone at the garden center how tall the variety will get before buying.
Step Two: Prepare the Ground
As soon as the ground thaws in spring, rake the area flat. It does not need to be perfect. Clover fills in dips and bumps on its own.
Clover is tough. You can plant it almost any time as long as frost is not a threat.
Another good option is planting in fall, at least six weeks before the first frost. Roots will establish before winter, and moisture from fall and spring will do most of the work for you.

Step Three: Mix the Seed
In a wheelbarrow or bucket, mix the clover seed with garden soil or a basic soil mix.
Clover grows in almost any soil, so this does not need to be fancy. Aim for about four seeds per square inch. Not every seed will sprout, and that spacing usually gives you one healthy plant per inch.
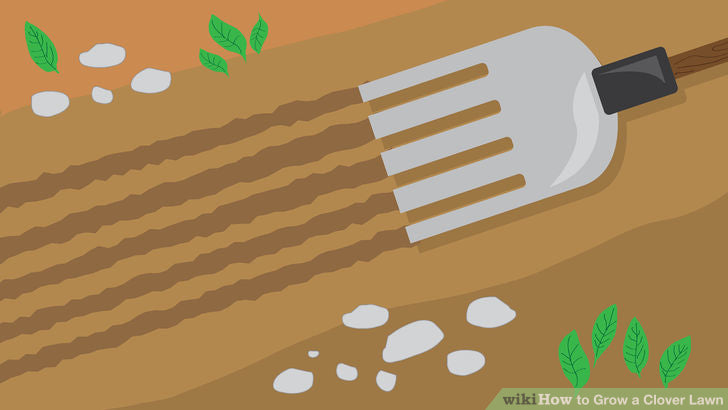
Step Four: Spread the Seed
Use a shovel to spread the soil and seed mix evenly over the area.
Take your time. Even coverage matters more than speed.

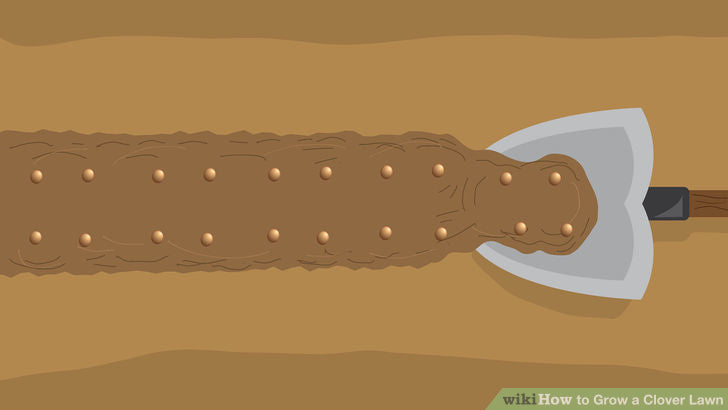
Step Five: Lightly Cover the Seeds
Go back over the area with about a quarter inch of plain soil.
Do not bury the seeds too deep. Clover shoots are small and cannot push through thick layers of soil.
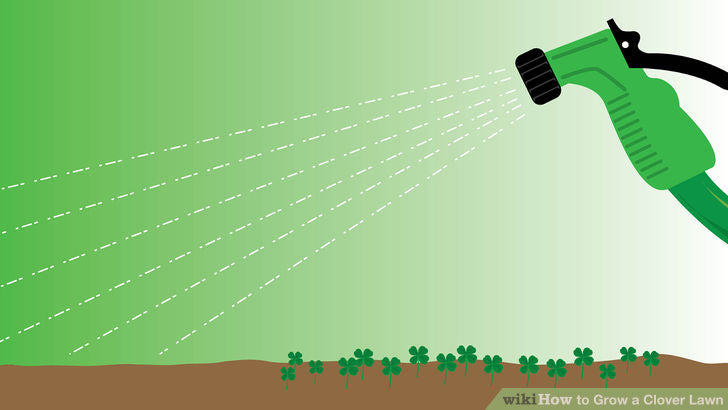
Step Six: Water Gently
Water the area with a fine spray. A strong stream will wash the seeds away.
Keep the soil moist for about a week. Do not let it dry out and try not to walk on it.
In about two weeks, you should see small green sprouts everywhere. That is the start of your clover lawn.
Helpful Tips
Once established, clover handles drought well, but it looks best if watered about once a week.
Do not hand toss seeds. It leads to patchy growth. If you need to fix bare spots later, use the same soil mixing method.
If you have time, look for four leaf clovers. Sometimes they grow in clusters and make fun gifts.
Soaking seeds for about an hour before planting can help improve germination.
Microclover is another option made specifically for lawns. It grows shorter, has smaller leaves, and produces fewer flowers.
A Few Things to Know Before You Start
Clover is a short lived perennial. It usually lasts two to three years. If you mow it every time it flowers, it will not reseed itself and you may need to reseed later.
Clover flowers attract bees. This is great for pollinators but may be a concern if you have small children or someone allergic to bee stings. Keeping clover cut short helps, but some flowers will still appear.
Do not fertilize clover with nitrogen. It makes its own. Herbicides will kill it, so avoid using them.
Clover does not love heavy foot traffic. If people walk across your yard often, consider adding stepping stones or paths.
Why I Like Clover Lawns
Clover lawns are simple. They work with nature instead of against it.
Less work. Fewer chemicals. More life.
That feels like a good way to celebrate St. Patrick’s Day.
– Danny Mishek
International Day of Forests and Why Forests and Water Matter